Here are the 3 Basic Steps to creating a Movie with Movie Maker
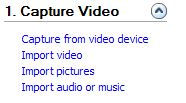
1-CAPTURE VIDEO
You have several ways to bring content into Movie Maker.
Capture from Video Device- means to connect your DV camera to the computer and import the film into Movie Maker
Import Video- Allows you to use a movie someone else made or a movie
you saved without editing.
Example.. United Video Streaming
now has many clips that you can download and edit in movie maker.
www.unitedstreaming.com
Import Pictures- Bring digital camera pictures into movie maker to create a slide show.
Import Audio or Music to add background sounds or music to your movie.
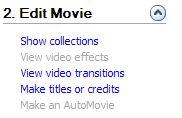
2-EDIT MOVIE
The Edit Menu allows you to control how your video is edited
Show Collections -will show you a list of movie maker projects you have saved.
View Video Effects- Will show you a menu of video effects you can apply (with drag and drop) to your video sequence.
View Video Transitions- Shows you a menu of transition effects you can apply to the space between each sequence.
Make Titles or Credits- Allows you to add text to the beginning, ending or to overlay text on your video sequence.
Make an Auto Movie-Uses preset standards to create the movie for you, but you must have certain lengths for your
video and audio clips. It is similar to the slideshow wizard in PowerPoint. Tip: If this feature is dim, then you cannot make
use this feature. Perhaps your clip is too short.
WHAT EDITING LOOKS LIKE... (below is a timeline showing several video clip sequences, music and title overlays)
The Timeline shows you all the parts of your video and how they work together.
The Video Storyboard is on top- You can add Video Effects by dragging and dropping the effect you want on the video sequence.
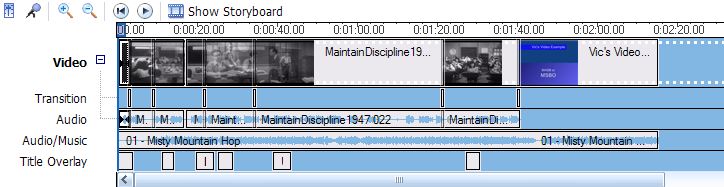
Transitions (effects between video sequences ) are next. These
are distinct from Video Effects which are effects that change the movie
itself.
A transition will only affect the short space in between two video sequences.
Audio (where you control the volume and other audio effects)
Audio Music (shows what music file (s) are being used in your movie. TiP: You can edit the length of your sound or music file.
Title Overlay (This is where you have added titles, captions or credits to your video)
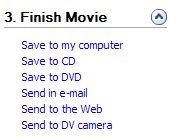
3-FINISH MOVIE
The Finish menu allows to select HOW you will save your finished movie.
Save to my computer is the most popular method. It will save your movie in a variety of formats to share on the computer.
Save to CD- This will allow you to record your movie to a CD
Save to DVD- This will help you to save your movie to a DVD
Send in e-mail-Will reduce the size of the picture and compress the movie for sending via email.
Send to the Web- allows you to use your movie on a web page.. but asks you to subscribe as well.
Send to DV camera. You can edit and save a finished movie back to your DV camera.